

Control what your team can do with roles
Each member’s role decides which pages they see in the portal and what they can do there. For example, you might want customer service staff to answer conversations without seeing billing, or your marketing lead to run campaigns without changing agent settings.
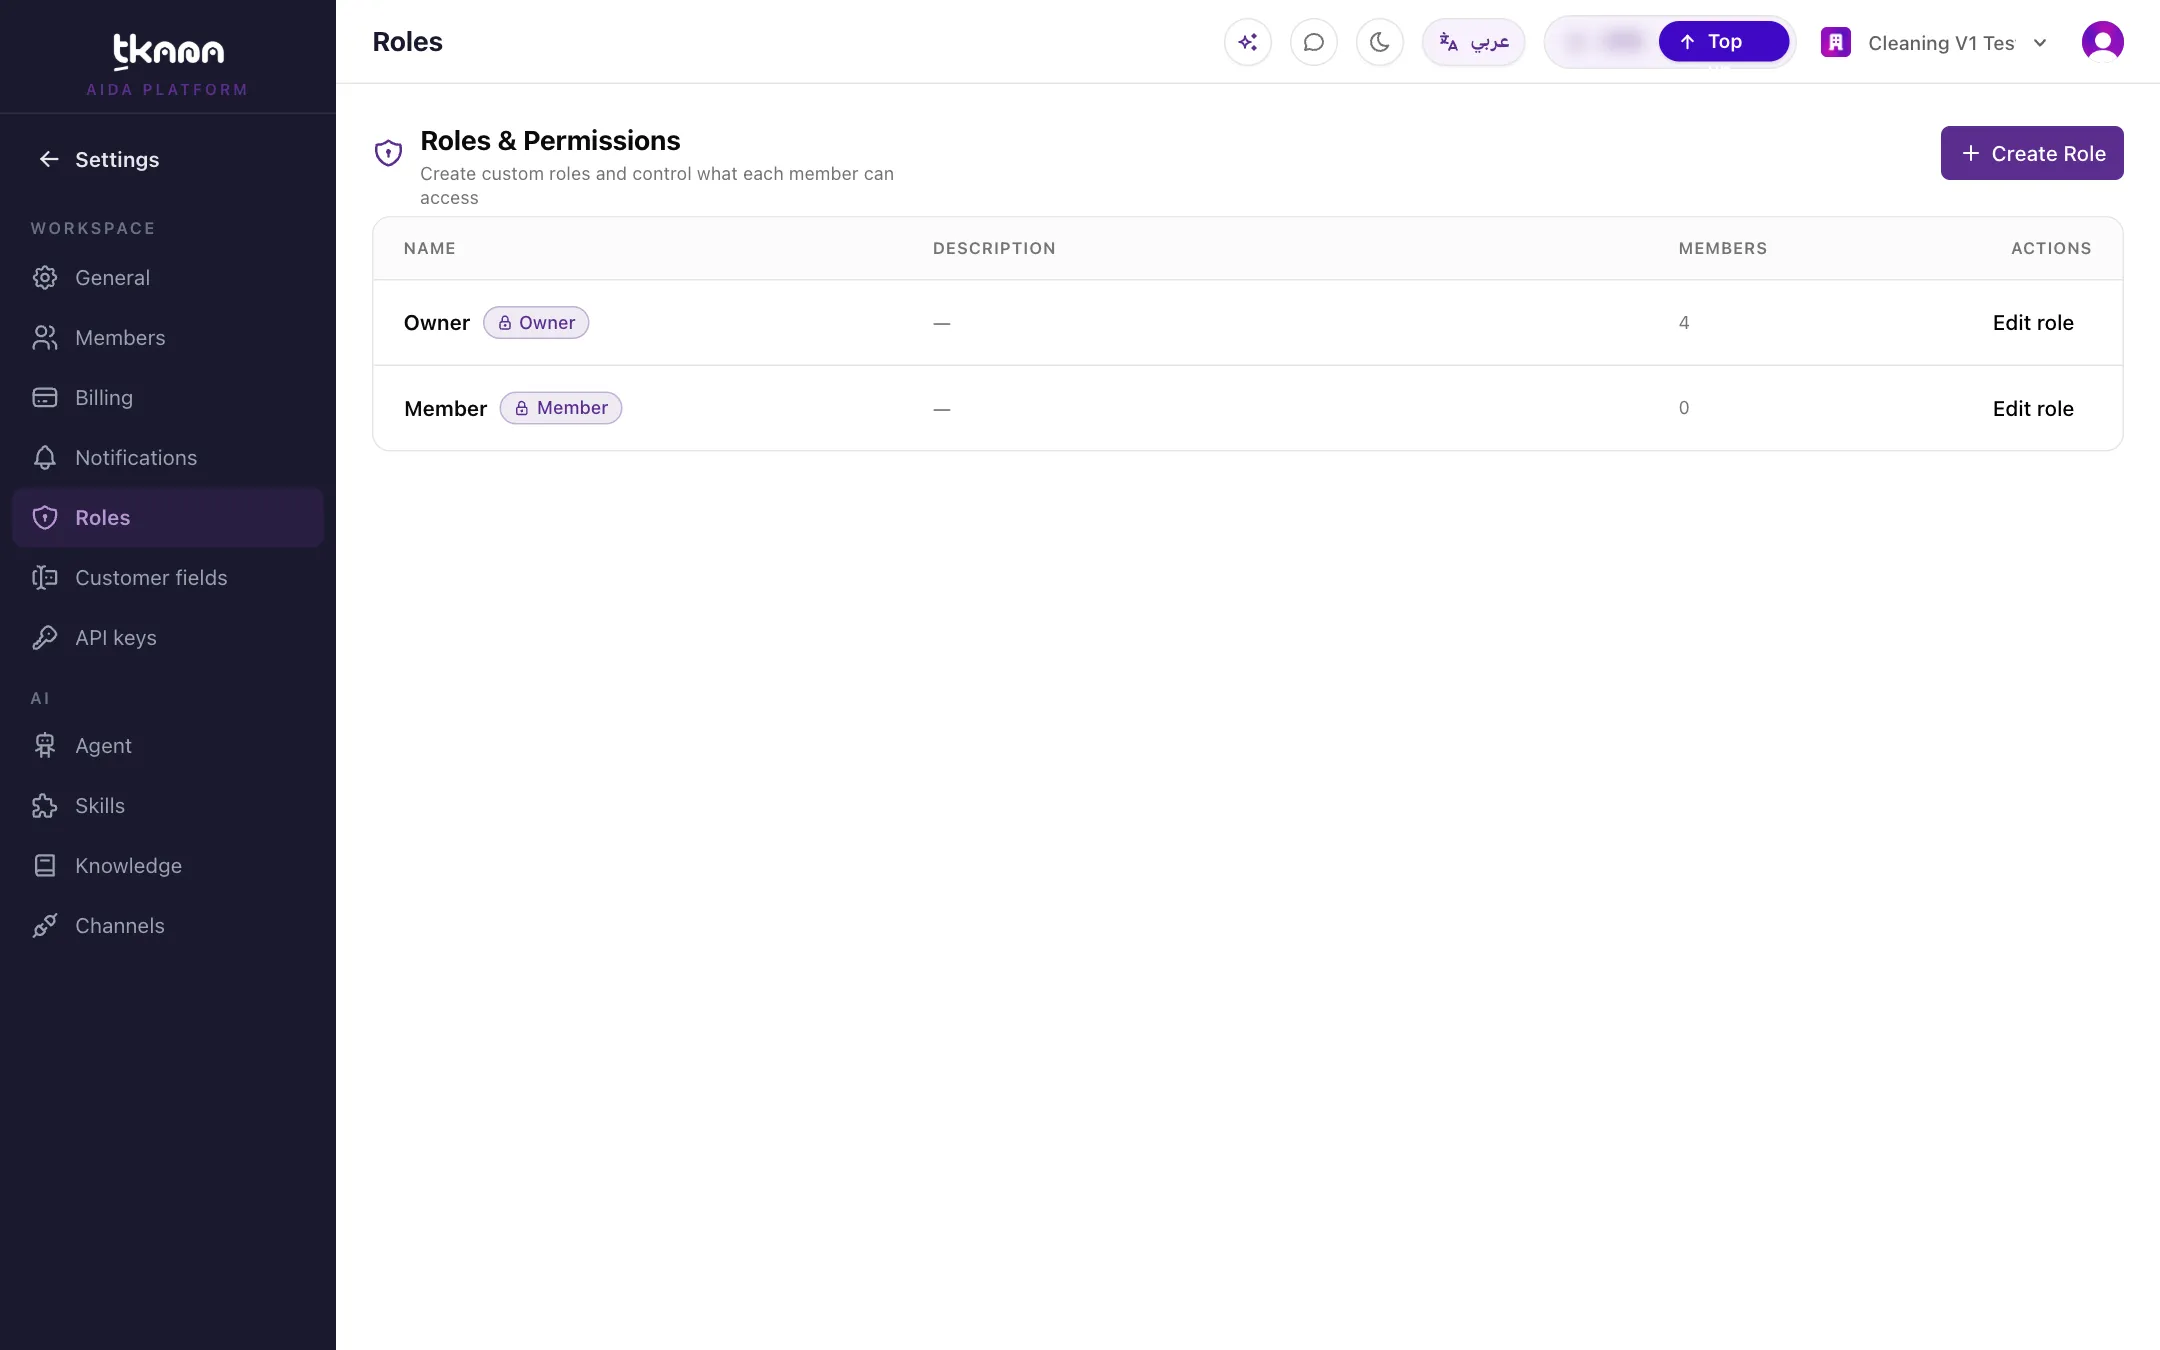
Built-in roles
Section titled “Built-in roles”Every account comes with two roles that cannot be deleted:
| Role | Permissions |
|---|---|
| Owner | Always has every permission. This role cannot be edited. |
| Member | Can view the dashboard, marketing, notifications, agents, skills, knowledge, and channels, and can view, create, and update conversations, CRM, tickets, and bookings. Has no access to billing, settings, members, or roles. |
The Member role’s name and description cannot be changed, but you can tune its permissions.
Create a custom role
Section titled “Create a custom role”-
In Settings, open Roles.
-
Click Create Role and give the role a name and description.
-
In the Permissions matrix, choose what the role can do in each area: View, Create, Update, or Delete.
-
Click Save.
Then give the role to your members from Settings > Members with Edit role.
The areas you control
Section titled “The areas you control”The matrix covers these areas: Dashboard, Conversations, Agents, Skills, Knowledge, Channels, CRM, Tickets, Marketing, Notifications, Bookings, Billing, Settings, Members, Roles.
Delete a role
Section titled “Delete a role”Open the role and click Delete role. If the role has members, the portal asks you to pick another role to move them to before deleting, so no member is left without a role.
Related
Section titled “Related”Was this article helpful?
Thanks for the feedback, it helps us improve these guides.