

Install a skill from the gallery
The skill gallery holds ready-made abilities you can add to your agent, such as booking, lead qualification, or cross-selling. Installing one takes a minute.
Install a skill
Section titled “Install a skill”-
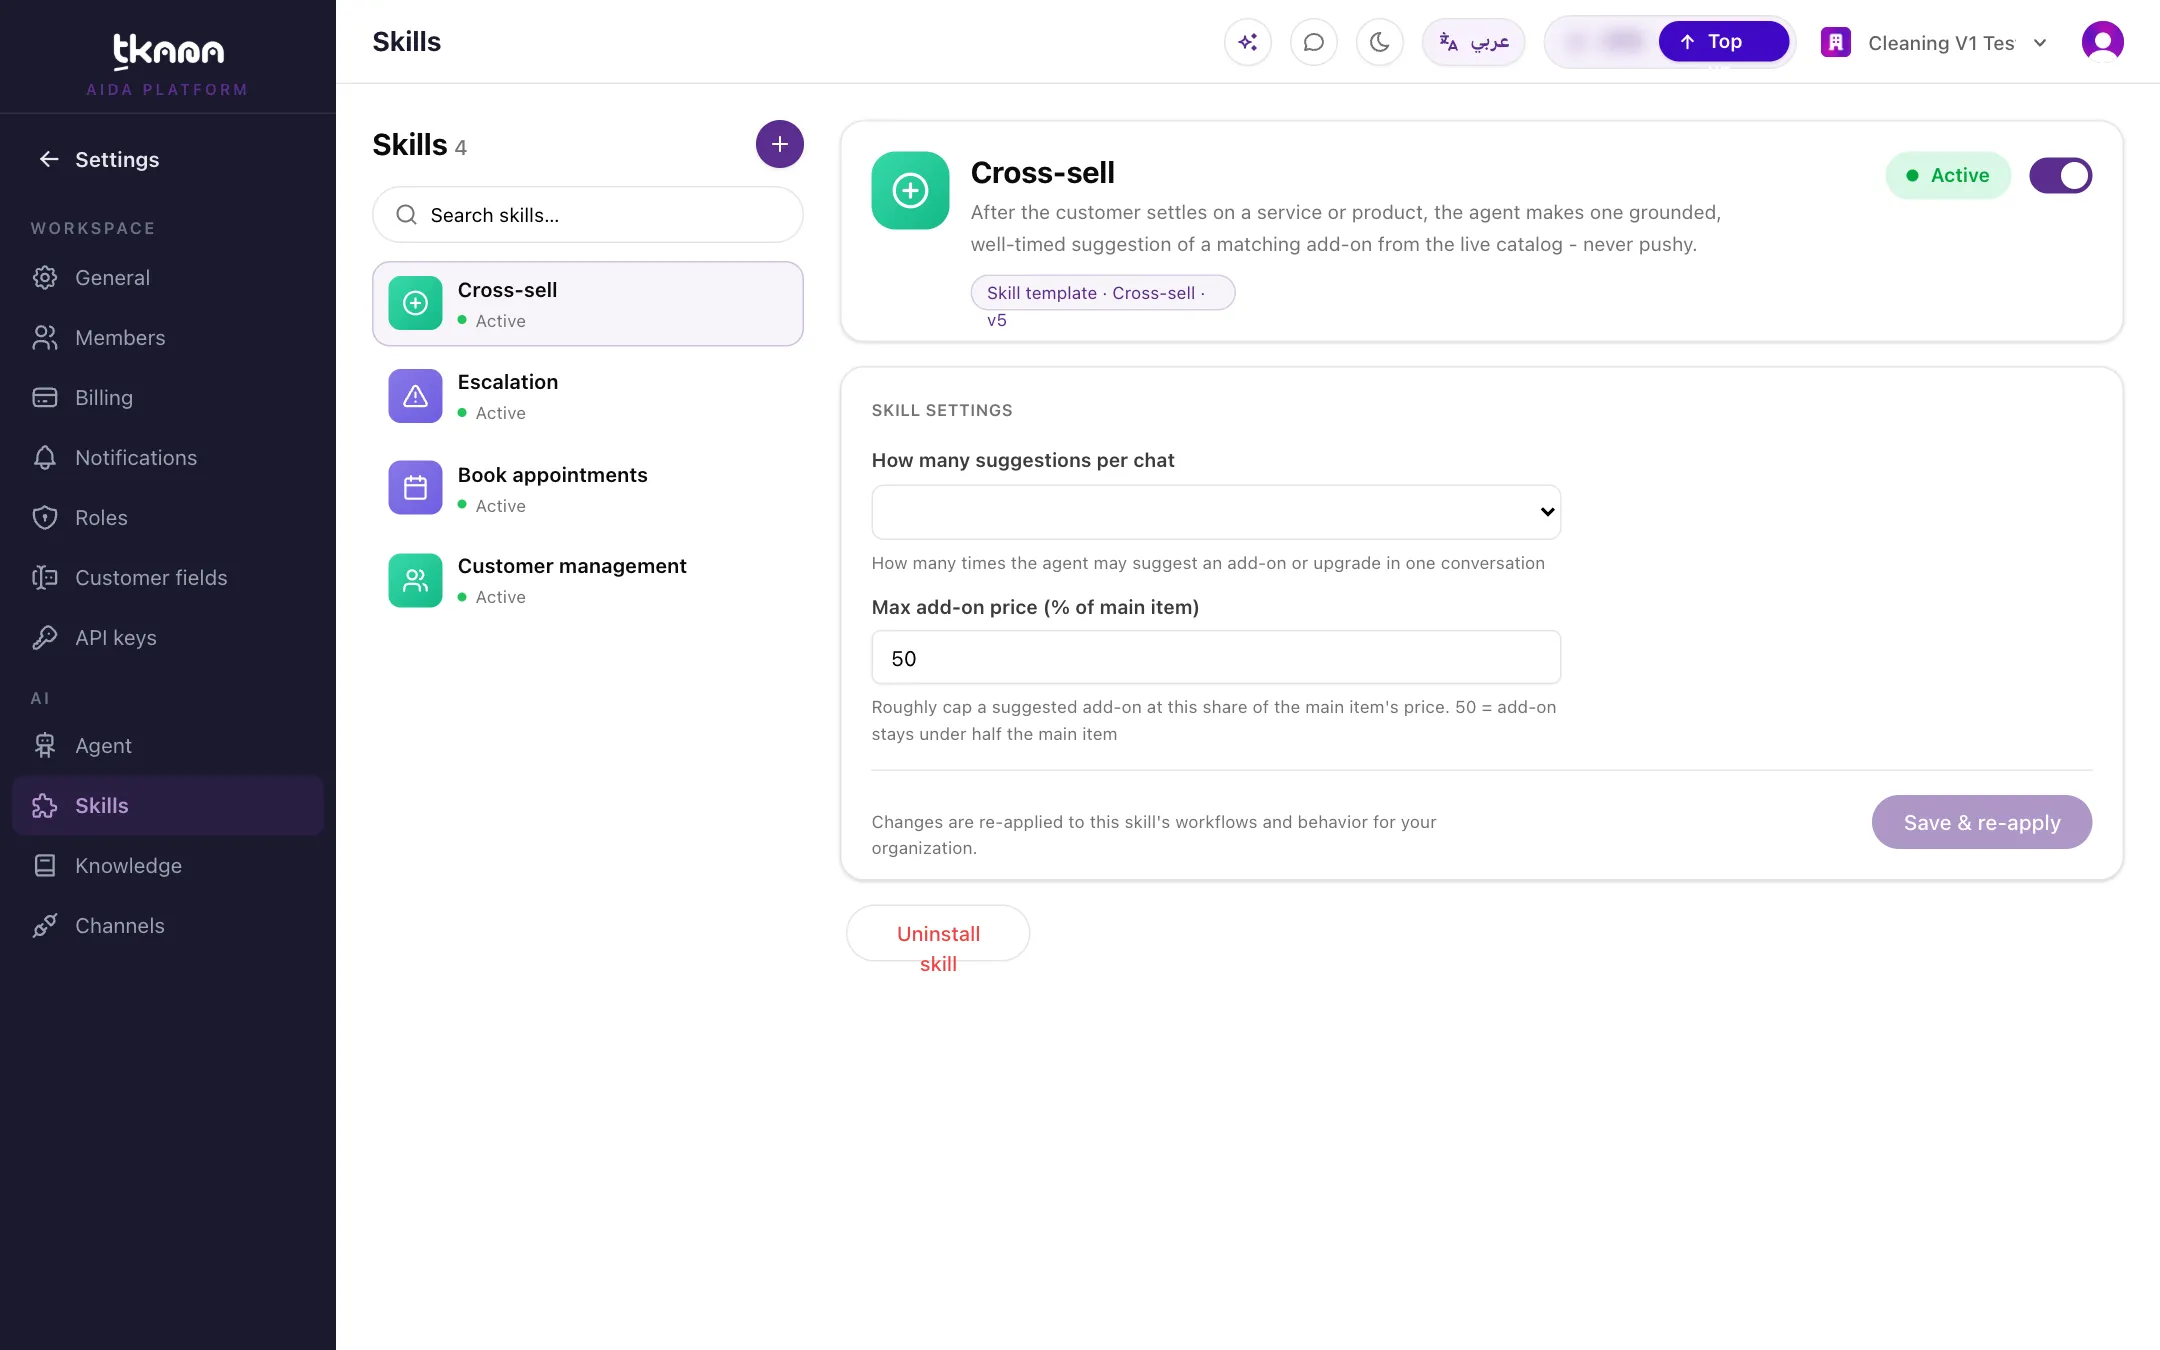
Go to Settings, then under AI click Skills.
-
Click + at the top of the skills list. The Skill gallery opens.
-
Click the skill you want. Its page shows:
- Requirements: anything the skill needs first, such as a connected integration or at least one bookable service.
- Configuration: the settings you fill in for this skill.
-
Fill in the settings. Required fields are marked, and some have a default you can keep.
-
Click Install skill. When you see Installed successfully, the skill is active on your agent.
Fill in the alert email
Section titled “Fill in the alert email”Several skills alert your team by email, for example when a new ticket is opened or a hot lead comes in. Fill in the email field when you install them, or the alert stays off:
| Skill | Setting |
|---|---|
| Support tickets | Support team email |
| Book appointments | Staff notification email |
| Lead Qualification | Sales alert email |
You can add or change the email later in the skill’s settings. See Manage, update, or remove a skill.
Good to know
Section titled “Good to know”- Skills that send WhatsApp messages come with message templates. They are sent to Meta for approval once your WhatsApp number is connected, and the messages start going out after approval.
- Some skills need a connected system. Salla and Foodics skills appear or work only after you connect that account.
- Some skills have no settings. Their page says so, and they work as soon as you install them.
- Installing depends on your role. If you do not see the + button, ask your account owner for access to skills.
Was this article helpful?
Thanks for the feedback, it helps us improve these guides.