

Send a WhatsApp campaign
A campaign sends one approved WhatsApp template to an audience you choose, from your business’s own WhatsApp number. Customer replies land in Conversations like any other message, so your agent or your team can pick them up.
Before you start
Section titled “Before you start”- An approved template. Only templates with the Approved status can be sent. See Create a WhatsApp template.
- An audience. A group from CRM > Groups, or customers you pick one by one. See Choose who receives a campaign.
- A payment method on your Meta account. Meta bills campaign messages directly. See Who pays for WhatsApp template messages.
Create and send the campaign
Section titled “Create and send the campaign”-
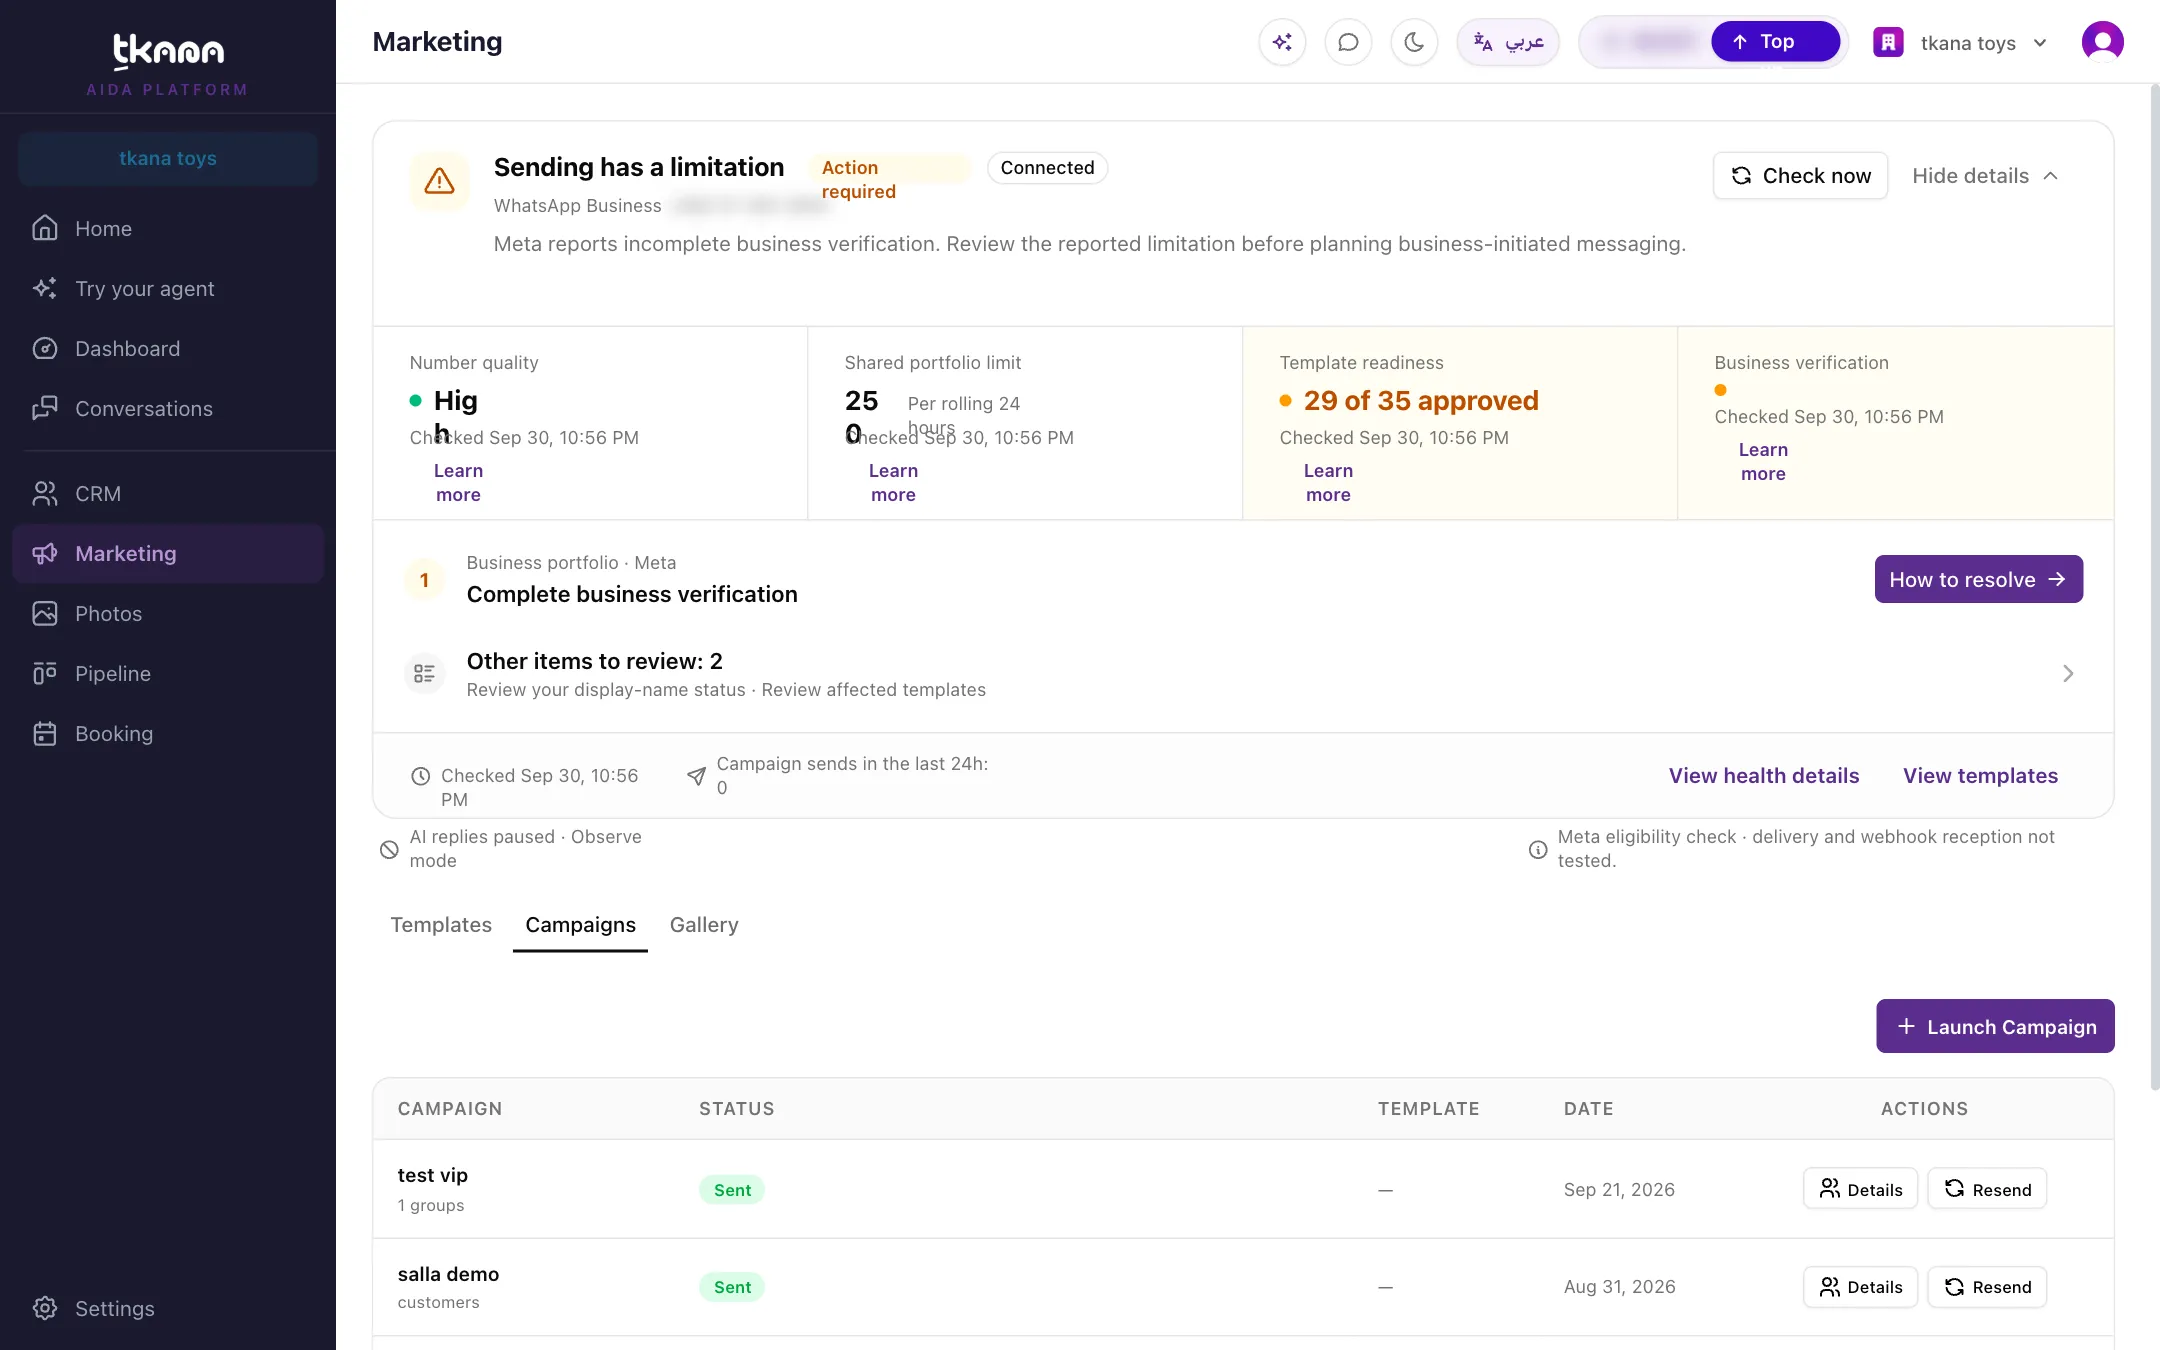
Open Marketing from the sidebar, then the Campaigns tab, and click Launch Campaign.
-
Enter a Campaign Name. Only your team sees it.
-
Pick a template from Select Template. Templates that are not approved yet are greyed out. A preview of the message opens on the right.
-
Choose the Audience, By Groups or By Customers, and select who should receive it. tkana checks the audience and shows how many are Selected, Eligible, and Excluded.
-
If the template has variables, click each highlighted variable in the preview and choose what fills it. See Personalize a campaign with customer details.
-
If the template has an image, the template’s own image is used. To use a different picture for this campaign, hover over the image in the preview and click Upload, or Library to pick one from your image gallery.
-
Under Schedule, choose Send Now, or Schedule For and pick a date and time. See Schedule a campaign below.
-
Click Launch Campaign. The window shows how many eligible contacts the campaign goes to and how many are excluded. Choose Create & Send, or Save as Draft to keep it for later.
The Launch Campaign button stays disabled until the campaign has a name, an approved template, an audience, a value for every variable, and an image for image templates. A red line under the button tells you what is missing.
Schedule a campaign
Section titled “Schedule a campaign”Choose Schedule For, pick the date and time, then click Launch Campaign and Create & Send. The campaign shows as Scheduled in the list and goes out automatically at that time.
- Time zone. The time you pick is in your organization’s time zone, shown next to Schedule, for example Schedule (Asia/Riyadh). You set it in Settings > General, under Time Zone.
- Change it. Click Edit on a scheduled campaign to change its time, audience, or variables.
- Cancel it. Click Cancel on its row. The campaign moves to Cancelled and nothing is sent.
- Consent is checked again at send time. A customer who opts out of marketing messages between now and the scheduled time is left out automatically, so the final count can differ from what you saw.
Campaign statuses
Section titled “Campaign statuses”| Status | What it means |
|---|---|
| Draft | Saved, not sent. Use Edit or Send. |
| Scheduled | Will go out at the time shown in the Date column. |
| Sending | Messages are going out now. |
| Sent | Sending finished. |
| Partially sent | Some recipients did not get the message. Review the details before sending again. |
| Not sent | No messages were sent, for example because every customer in the audience was excluded. |
| Failed | Sending could not start, for example because the template is no longer approved or WhatsApp is disconnected. |
| Needs review | The result of the send is uncertain. Check the details before you send again, so no one gets the message twice. |
| Cancelled | A scheduled campaign you cancelled. |
Follow up on a campaign
Section titled “Follow up on a campaign”- Details opens the campaign’s results: how many recipients, how many messages were delivered, read, or failed, and each recipient’s status. From there you can Export the recipients shown or save them with Create Group to follow up later. See Track campaign delivery.
- Resend opens a copy of a sent or failed campaign, with the same template and audience and “(resend)” added to its name. You can change anything before you launch it.
Related
Section titled “Related”Was this article helpful?
Thanks for the feedback, it helps us improve these guides.