

Add custom fields to your customer records
Every contact already has a name, phone number, and email. Customer fields let you keep your own details on top of that, such as a membership number, a preferred branch, a birthday, or whether the customer is a returning client. Once a field exists, your agent can read and fill it in during a chat, and you can use it to personalize campaign messages.
Add a field
Section titled “Add a field”-
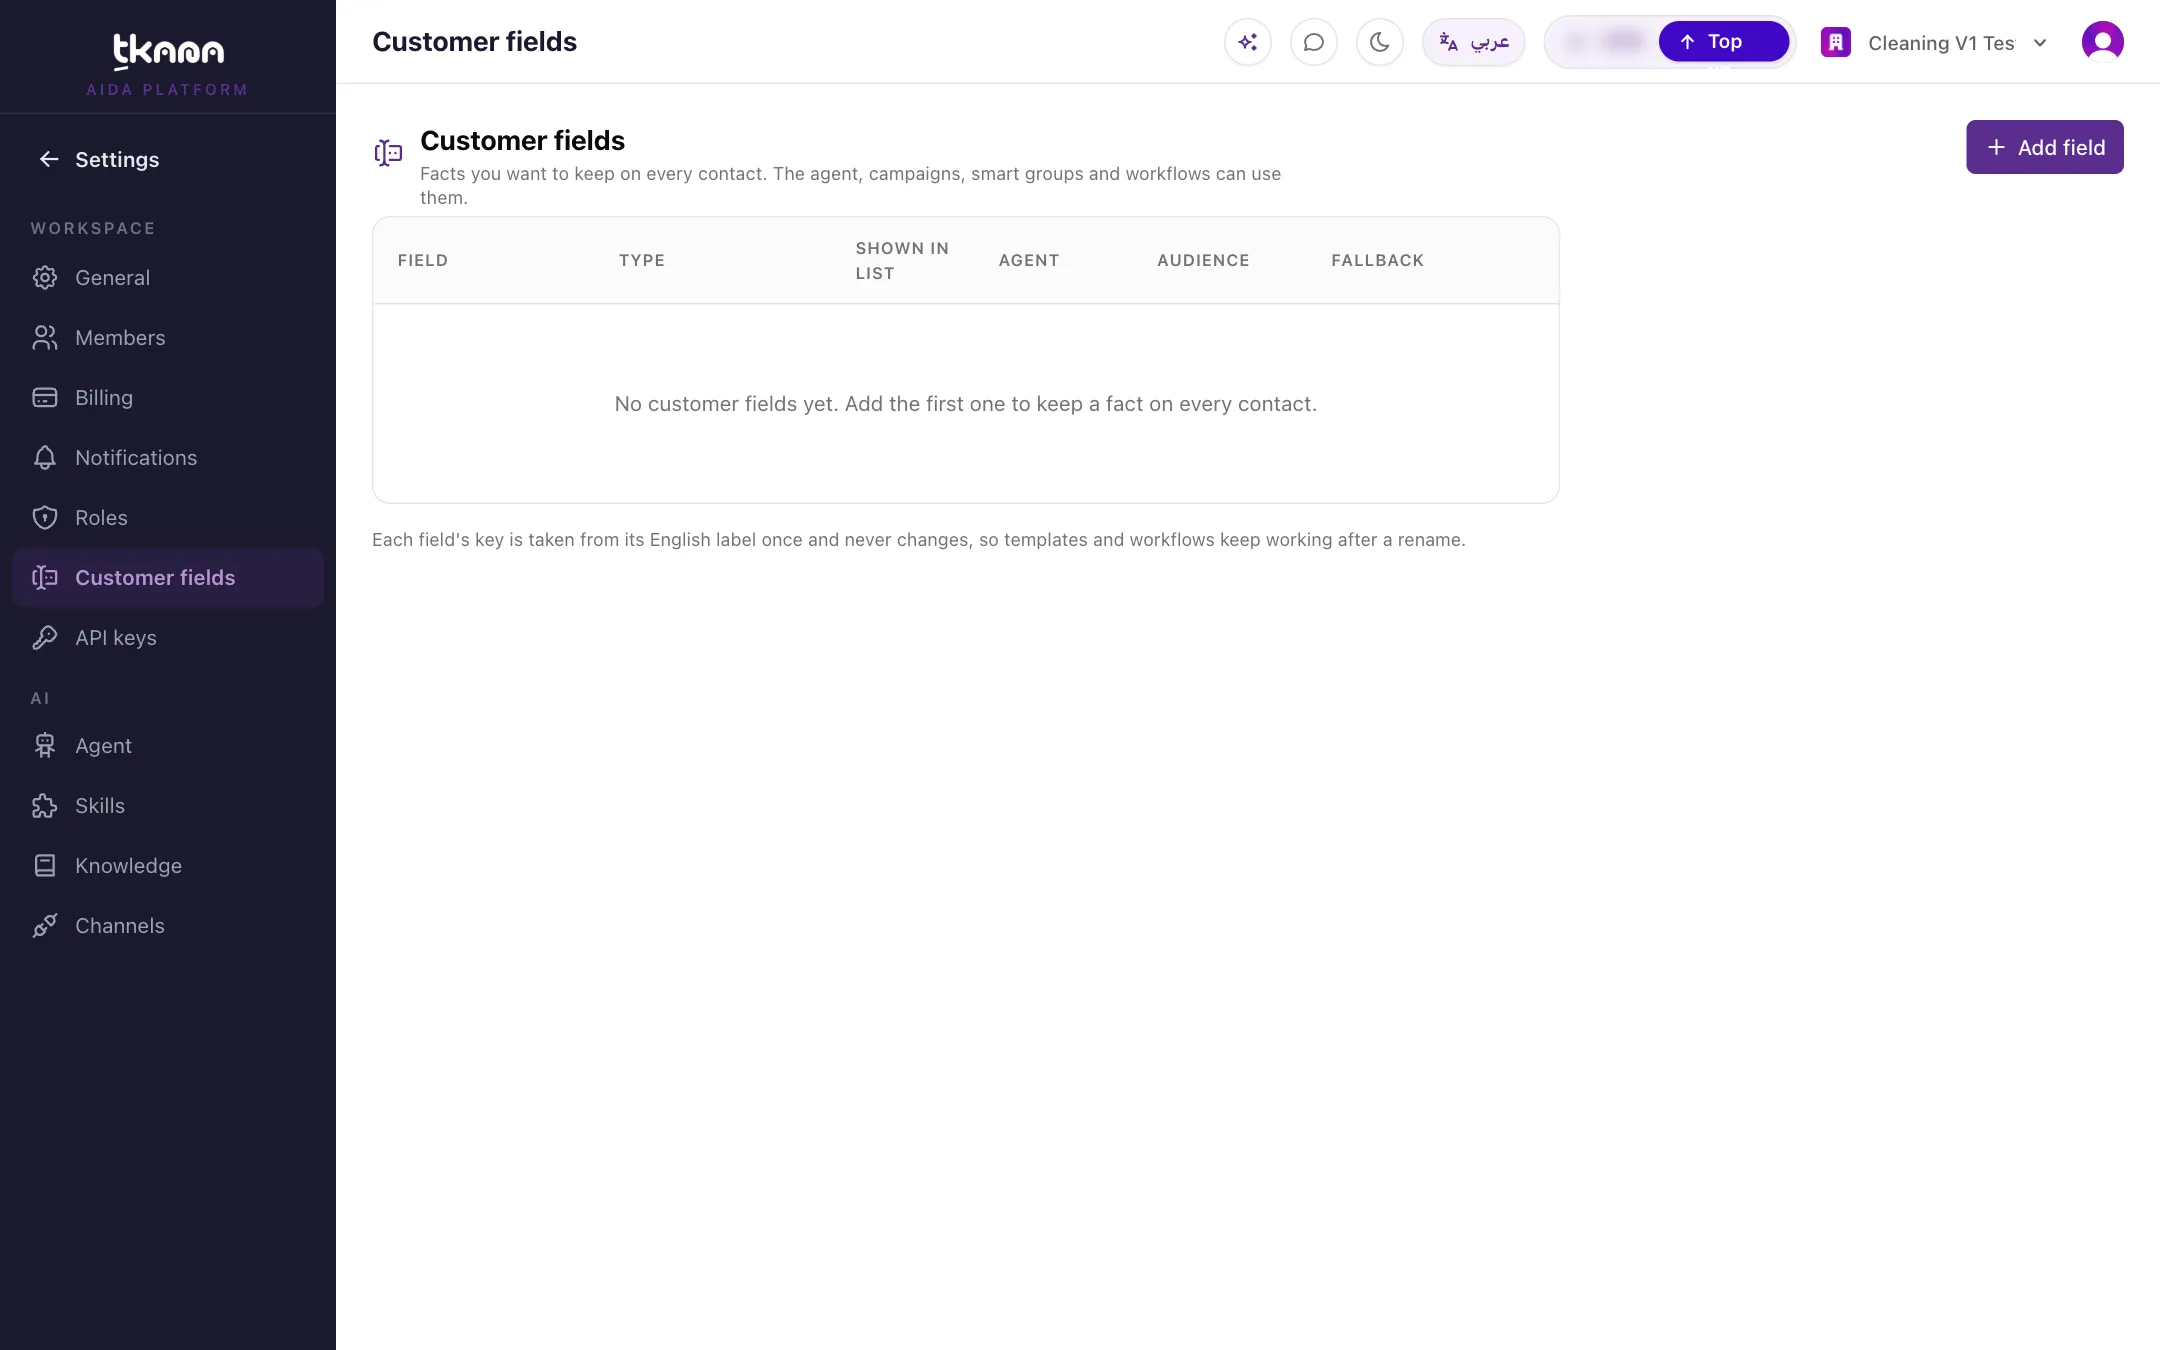
In Settings, open Customer fields.
-
Click Add field.
-
Enter the Label (English) and Label (Arabic). Your team sees the label in their portal language.
-
Choose the Type:
- Text: free text, up to 500 characters.
- Number: a number only.
- Date: a calendar date.
- Select (one): one choice from a list you define. Add each choice with + option.
- Yes or no: a simple yes/no answer.
-
Choose the settings you need (explained below), then click Save field. You see Field added.
Field settings
Section titled “Field settings”| Setting | What it does |
|---|---|
| Fallback in messages | The text used in a campaign or automated message when a contact has no value for this field. You can set it in English and Arabic. If you leave it empty, contacts without a value are skipped when the message needs this field. |
| Show in contacts list | Shows the field as a column in the CRM contacts list, up to three fields. When three fields already show, turn one off to show another. The Shown in list column on this page tells you which fields have it on. |
| Required | The field must have a value when your team edits a contact. |
| Agent can read | Your agent can see the value during a conversation and use it in its reply. |
| Agent can write | Your agent can save a value it learns in the chat, for example the branch the customer prefers. |
| Staff only (never in a customer message) | Keeps the value internal. It can never be placed in a message to a customer. |
Agent can read and Agent can write are on for every new field. Switch either off if you do not want your agent to see or change that detail.
See and edit the values on a contact
Section titled “See and edit the values on a contact”Open a contact in CRM. The Customer fields card shows every field and its value, or Not set when it is empty. Click the edit button on the card to fill in or change values.
When your agent wrote a value during a conversation, it is marked with AI and the date, so you know it came from a chat rather than from your team.
Filter contacts by a field
Section titled “Filter contacts by a field”You can list contacts by a field’s value, for example “everyone whose branch is Jeddah”, instead of a tag someone keeps up by hand.
-
Open CRM and go to the Contacts tab.
-
Click Field filter and pick the field.
-
Choose the Condition, then a value if the condition needs one, and click Apply.
The conditions depend on the field’s type:
| Type | Conditions |
|---|---|
| Text | is, is not, contains, has any value, is empty |
| Number | is, is not, greater than, less than, has any value, is empty |
| Date | is, after, before, has any value, is empty |
| Select (one) | is, is not, has any value, is empty |
| Yes or no | is, has any value, is empty |
Each applied filter shows as a chip above the list. You can add more than one and remove any of them from its chip. The filter also applies to select-all and to the export. To keep it as a campaign audience, click Save as Smart Group. See Organize customers with tags and groups.
Where your fields are used
Section titled “Where your fields are used”- Your agent: fields with Agent can read give your agent more context about the customer. Fields with Agent can write let it record what it learns.
- Filters and smart groups: filter contacts by the field’s value, and use the same condition in a smart group.
- Import: map a column in your file to the field to fill it for many contacts at once. See Import and export contacts.
- Campaigns: when a template has a variable, you can fill it with a customer field, so each customer gets their own value. The field’s fallback is used when a customer has no value.
- Automations: automations can use your fields too. When you delete a field, tkana warns you about any automation that still uses it.
Edit or delete a field
Section titled “Edit or delete a field”Click a field in the list to open it. You can change its labels, options, fallback, and settings, then click Save field.
To delete it, open the field and click Delete. Before anything is removed, tkana tells you how many contacts have a value for it and lists any campaigns or automations that use it. Click Delete field to confirm.
Related
Section titled “Related”Was this article helpful?
Thanks for the feedback, it helps us improve these guides.